
Saving Documents into M2Advisor
Method 1: Drag and Drop
1. From the Client screen, select the client you want the document to be saved against.
2. Drag the document on to the M2Advisor window.
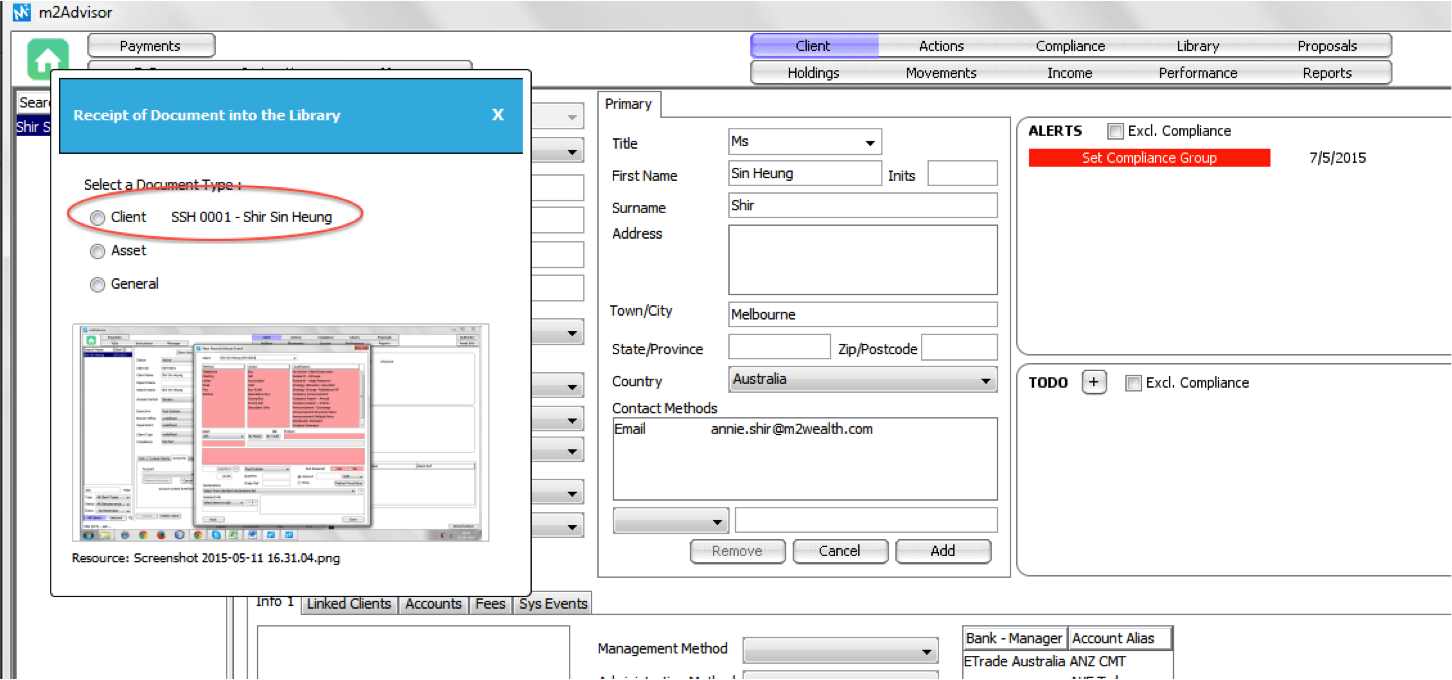
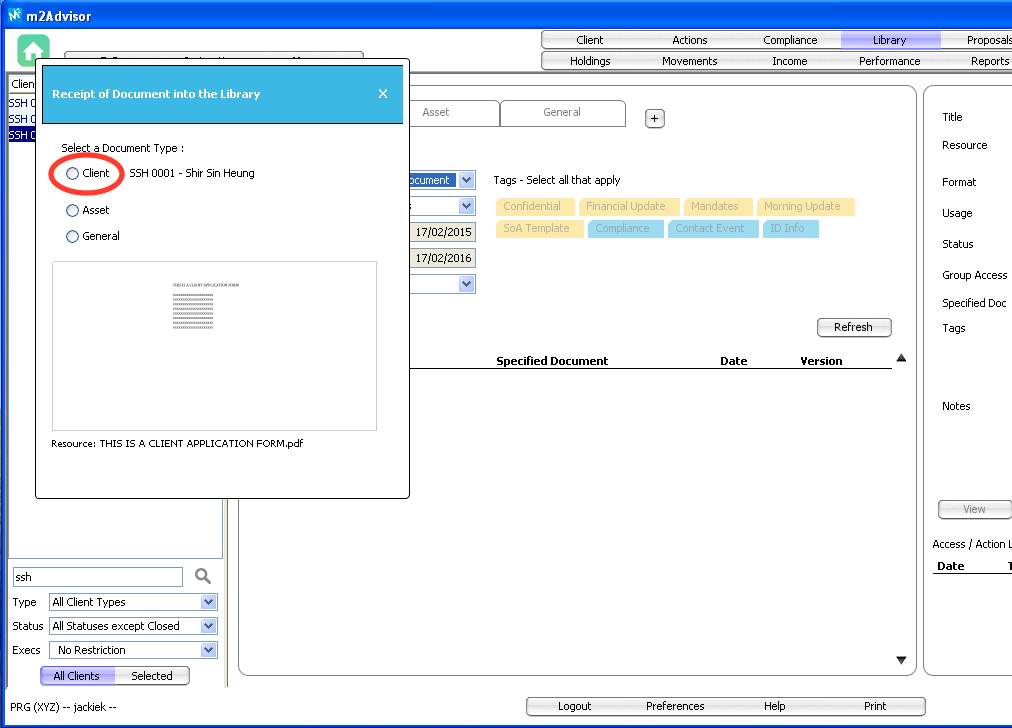
3. A pop-up screen will appear. (Figure 1)
4.Select the Client radio button.
- Client – to save documents under a specific client.
- Asset – to save documents under a specific asset not relating to a client. (e.g. funds PDS, research etc.)
- General – to save general company documents not relating to a client. (e.g. company forms etc.)
Figure 1
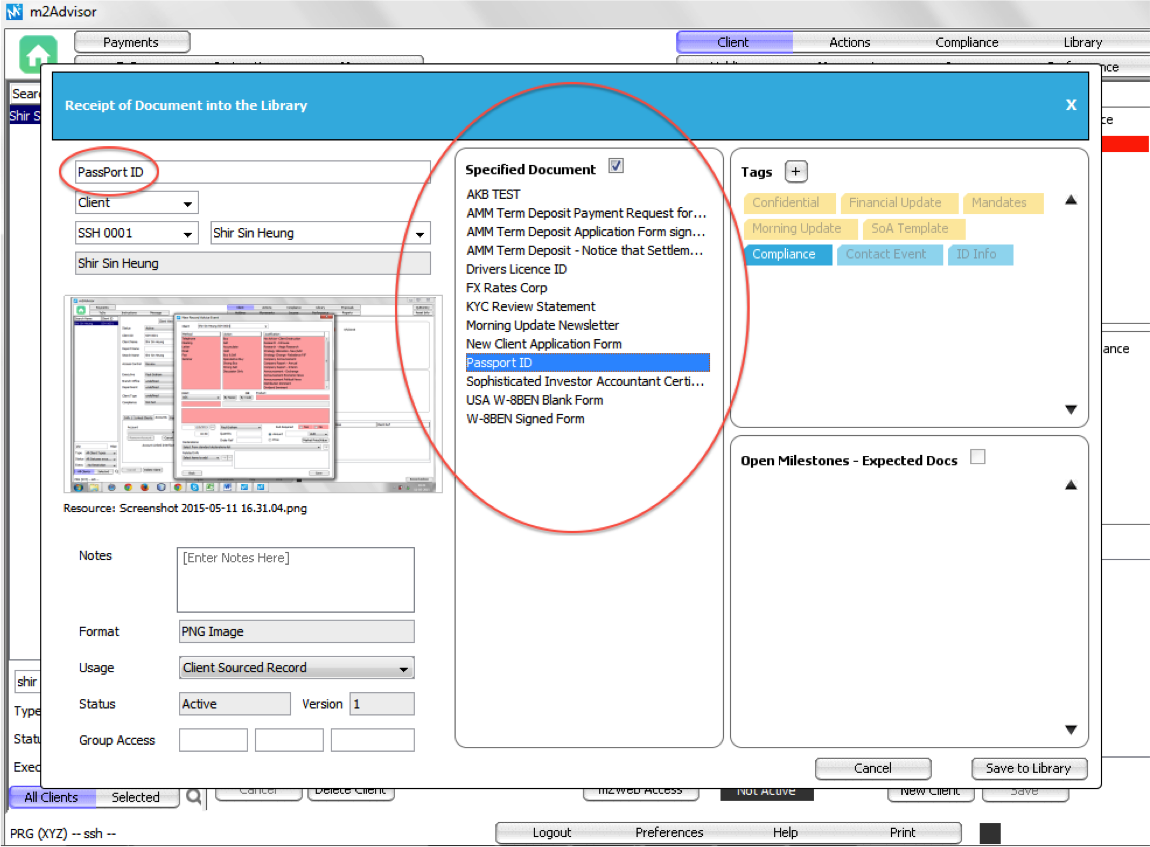
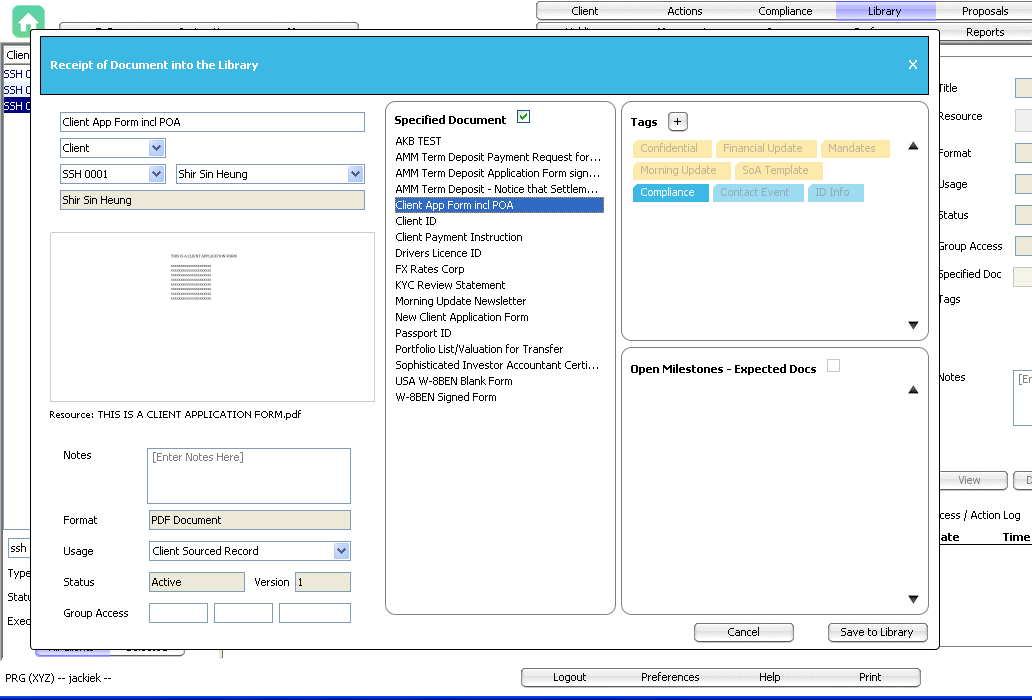
5. You can name the document by typing in your own description or selecting from the Specified Document (Figure 2)
6. You can also add Tags on the document. Tagging a document allows you to search of the document using the Tag name.
7. Click Save to Library.
Figure 2
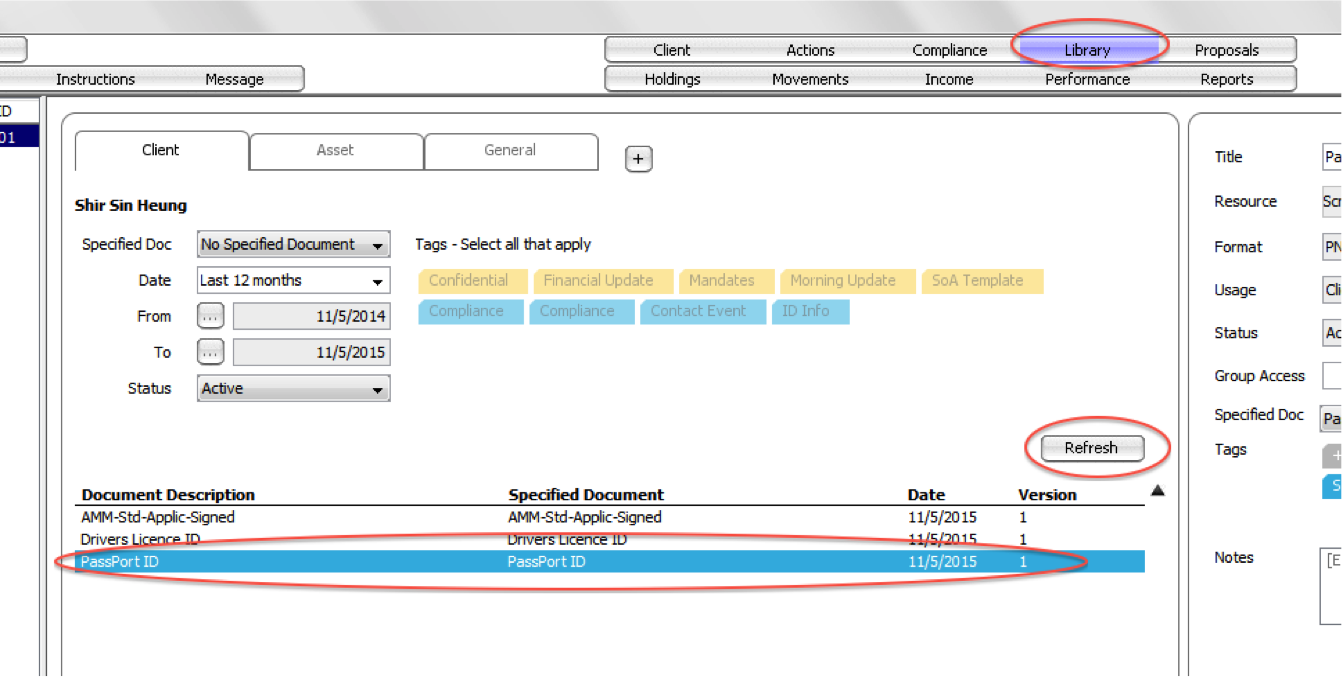
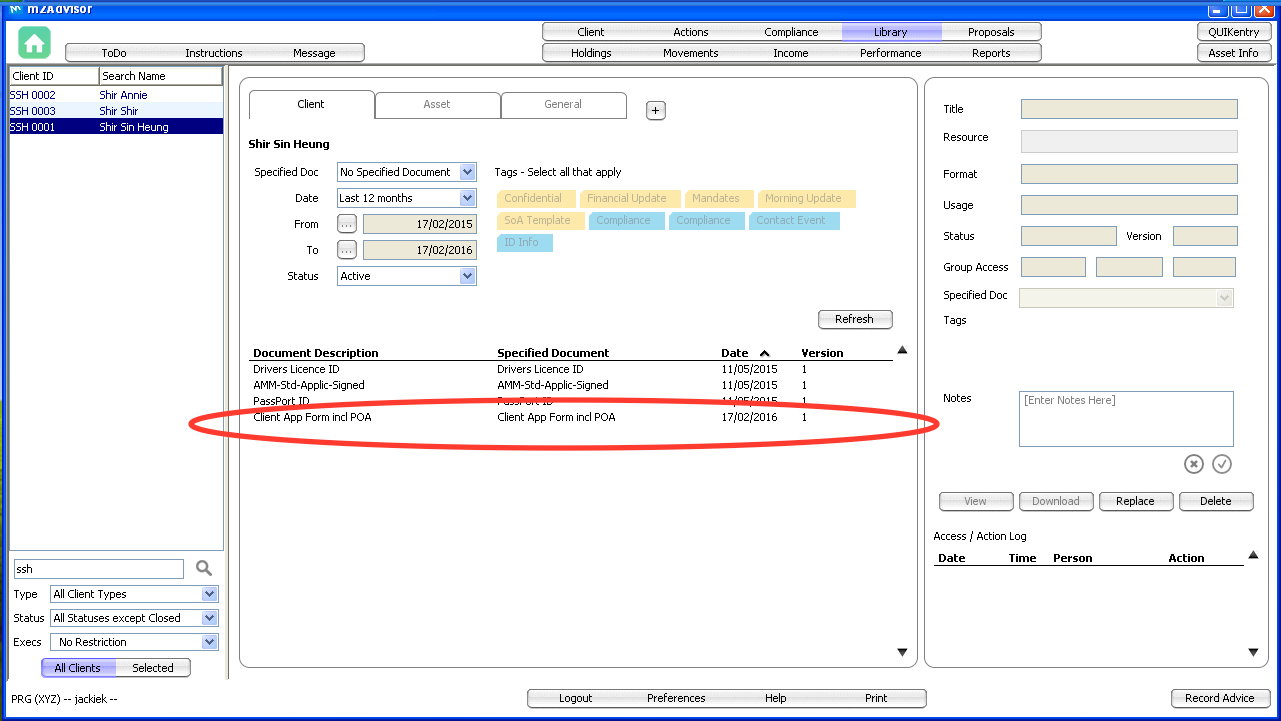
8. Select the Library tab on the top. (Figure 3)
9. Click Refresh.
10. The document saved will be shown below.
Method 2: Upload a saved file
1. Save the documents you wish to upload to a location on your computer or network.
2. From the Client screen, select the client you want the documents to be saved against.
3. Click Library on the top toolbar, and click + to add a new document.
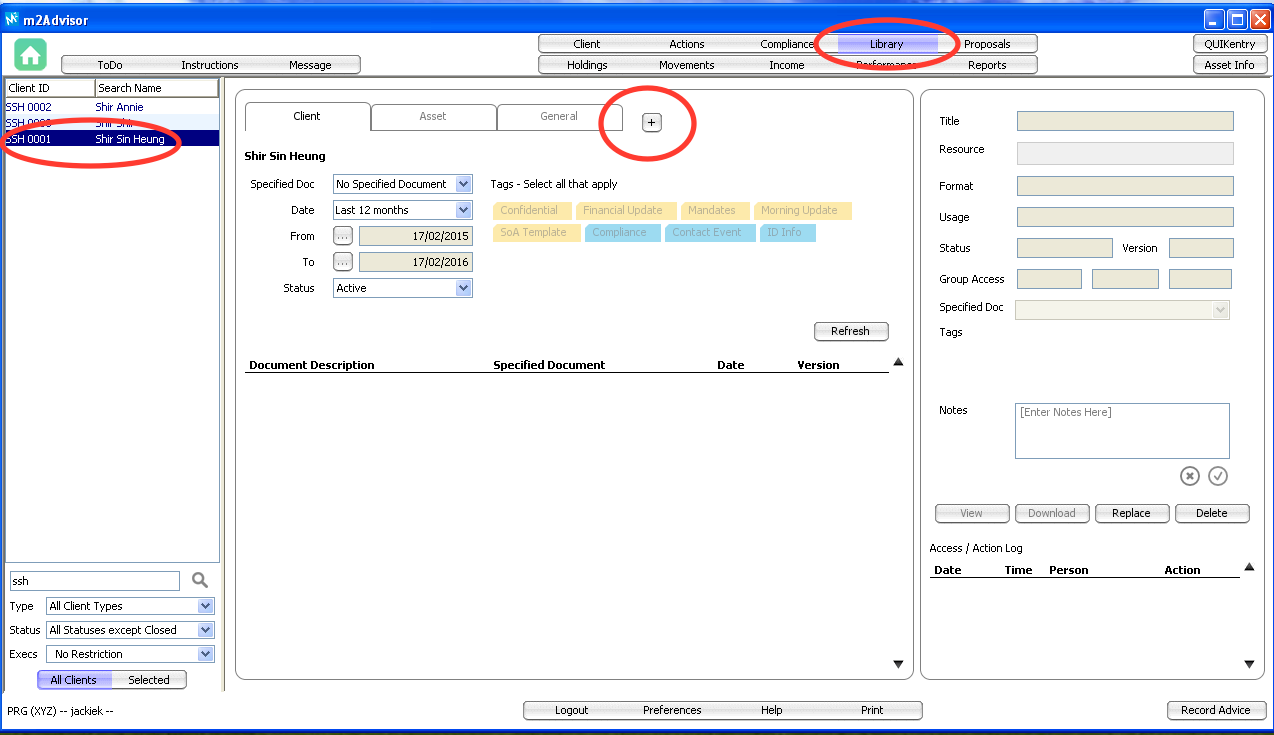
- Client – to save documents under a specific client.
- Asset – to save documents under a specific asset not relating to a client. (e.g. funds PDS, research etc.)
- General – to save general company documents not relating to a client. (e.g. company forms etc.)
You can also add Tags to the document. Tagging a document allows you to search documents using the Tag name. It is another way to categorise documents.
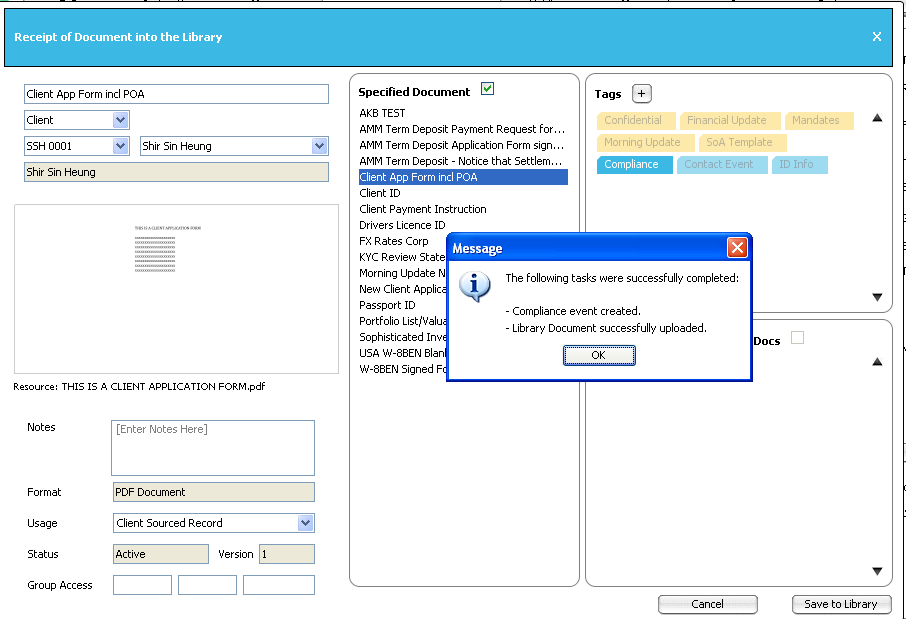
The ‘success’ confirmation will confirm document has been saved.
Comments
1 comment
Lynn: I added the second section for how to upload documents for the client who can't use drag and drop - JK
Please sign in to leave a comment.